How To Enable or Disable Firewall using PowerShell
Table of Contents
Firewalls are an essential part of any computer system. They provide an extra layer of protection from malicious attacks, viruses, and other threats. However, if left unchecked, firewalls can also block legitimate traffic. This is why it is important to be able to enable or disable them as needed.
Fortunately, this is relatively easy to do with PowerShell.
The Get-NetFirewallProfile and Set-FirewallProfile commands allow you to quickly and easily check the current status of your firewall and enable or disable it as needed.
How to Check Firewall Status
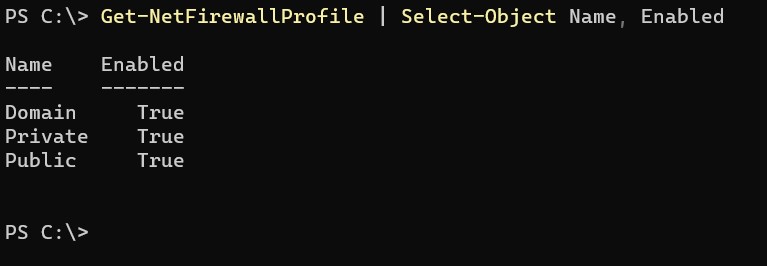
To check the current status of your firewall, open PowerShell and enter the command:
This will give you the current firewall status for all three profiles – Domain, Private, and Public.
How to Disable/Enable Firewall using PowerShell
If you need to disable your firewall, simply enter the command:
Set-NetFirewallProfile -Profile Domain, Private, Public -Enabled False
This will completely disable your firewall for all three profiles.
To re–enable the firewall, just enter the command:
Set-NetFirewallProfile -Profile Domain, Private, Public -Enabled True
Using PowerShell to enable or disable your firewall is quick and easy. However, it is important to remember that firewalls are there for a reason – to protect your computer from malicious attacks. Make sure to keep an eye on your firewall status and only disable it when absolutely necessary.